Retrofitting older analog garage motors with smart Wi-Fi relays costs $40–$50 using devices like the Shelly 1 Relay, versus $300–$800 for full replacements. You’ll need basic soldering skills, a multimeter, and a 12V 200mA power supply to integrate app control and voice commands into existing systems. Chain drive openers from the late ’70s and early ’80s work reliably; post-1995 screw drives may encounter complications. Proper soldering technique and relay placement within three meters of your router guarantee peak performance and signal strength. The specific installation methodology reveals critical distinctions between successful retrofits and common failure points.
Key Takeaways
- Smart Wi-Fi relays like the Shelly 1 ($20) enable affordable retrofit upgrades to older garage door openers without full replacement costs.
- Retrofitting preserves manufacturer warranties while adding app control, voice commands, and real-time monitoring capabilities to existing analog systems.
- Chain drive systems from the late ’70s and early ’80s are highly compatible with smart relay integration retrofits.
- Installation requires minimal components—a relay module, 12V power supply, and basic soldering—avoiding expensive labor and system replacement expenses.
- Retrofitting reduces electronic waste by retaining existing hardware while delivering modern smart home functionality at a fraction of replacement costs.
Should You Retrofit Your Old Garage Door? (Spoiler: Usually Yes)
Why would you spend thousands replacing a perfectly good garage door opener when you can upgrade what you’ve already got? Honestly, retrofitting an older system makes a lot of sense—especially if your current opener still works fine.
Your existing hardware deserves a second life. Whether you’re running a 1979 Sears chain drive or a 1992 screw drive system, you keep the original manufacturer warranty while adding smart features you never had before. That’s the real benefit right there.
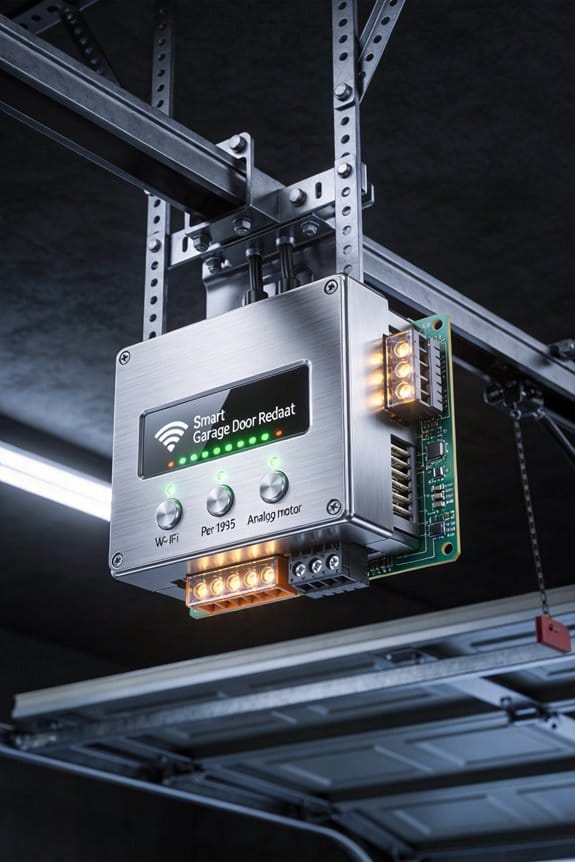
Here’s the setup that actually works: A Shelly 1 Relay costs about $20 and installs without tearing into your garage door’s internal wiring. It runs on 12V with minimal power draw (200mA), so you won’t spike your electricity bill. The ESP8266 controller does the heavy lifting—it sends a quick pulse to your relay contacts for just 0.25 seconds, which is exactly how long your original remote button stays pressed. So, why does this matter? Because it mimics your remote perfectly, meaning compatibility issues are basically non-existent.
Installation is straightforward if you’re comfortable with basic soldering. You’ll connect the relay to your remote switch terminals and place it somewhere within WiFi range of your router. That’s it.
What you get in return is solid. App control from anywhere. Voice commands through Alexa or HomeKit. Real-time monitoring so you know if the door’s open or closed. Try this: test your WiFi signal in the garage first to make sure the relay will stay connected.
Truth is, these systems handle standard residential two-door setups without flinching, and they work reliably across temperatures from 40 to 120°F. The money you save compared to replacing the whole opener? You could put that toward other projects.
Recommended Products

iO-WR | Wireless Relay | iO HVAC Controls

4MP HD & True Color Night Vision- The security Camera Hub G5 Pro offers a 4MP Resolution with a 133° FOV and supports True Color Night Vision with a 1/1.8" sensor and f/1.0 large aperture, identifying intruders even in low-light. A Built-in 3000K DIMMABLE Spotlight functions as an intruder deterrent and improves visibility during nighttime. Note: This surveillance camera is not equipped with infrared light. No Battery.

OE-Level All-in-One Diagnostic Tool: Upgraded Hardware and Software. FOXWELL NT510 Elite fit for GM(Chevrolet, Buick, Cadillac, GMC), AutoVIN scans all available modules. To diagnose body, chassis, engine, ABS, airbag, transmission, 4WD, HVAC, headlights and more. Read & clear fault codes, turn off that stubborn check engine light, view live data in text or graph, and retrieve freeze frame data. Identify the root cause in minutes. Lifetime Free Update & No Subscription – pay once, use forever
Is Your Garage Door Compatible? (Chain Drives, Screw Drives, Pre-1995)
Is Your Garage Door Compatible? (Chain Drives, Screw Drives, Pre-1995)
Ever bought a smart home gadget only to realize it won’t work with your setup? Garage door openers are notorious for this. The good news? A lot of older systems actually play nice with smart relays—but you’ve got to know what you’re working with first.
If your opener’s a chain drive from the late ’70s or early ’80s, you’re in luck. Those units use simple remote switches that relays can mimic without breaking a sweat. The basic design hasn’t changed much, which means modern tech slots in pretty cleanly.
Now, screw drives are a different story. Post-1995 models especially can be stubborn because they packed in obstruction sensors and fancier electronics. Why does this matter? Those sensors complicate things. A relay retrofit isn’t impossible, but it’s messier than it should be.
Before you drop money on anything, check your opener’s voltage. Most home units run between 12V and 24V—totally manageable with standard relay modules. Here’s the trick: grab a multimeter and measure the NO-COM resistance on your remote switch terminals. It takes five minutes and saves you from wasting $20 on incompatible gear.
Frankly, if your motor’s older and doesn’t have all the modern safety bells and whistles, you’re positioned well for a simple retrofit. A Shelly 1 Relay ($19.95) or an ESP8266-based setup usually works without touching any internal wiring. The best part is you’re not locked into expensive proprietary systems.
Recommended Products

🔄 Versatile Triple Access Control - Remote, Smart App & Keypad:Experience ultimate flexibility and convenience. Use the 2 included remotes (100ft range) for instant, no-setup-required access from your car. For advanced control, connect to WiFi and operate your gate from anywhere via the "eWeLink" App. For secure guest access, the included wireless keypad lets you create and change codes directly—no need to re-pair. Choose the method that best fits your moment.
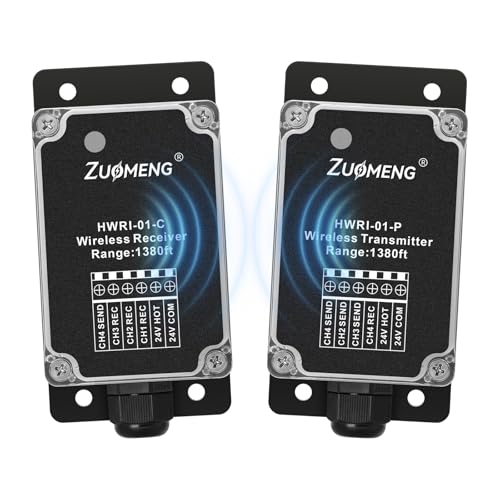
SAY GOODBYE TO WIRING HASSLES: Zuomeng wireless relay replaces traditional wiring with wireless communication, eliminating issues caused by aging or damaged wires. No wall damage or rewiring needed—ideal for easy HVAC maintenance, upgrades, and new installations. Fast setup with flexible deployment
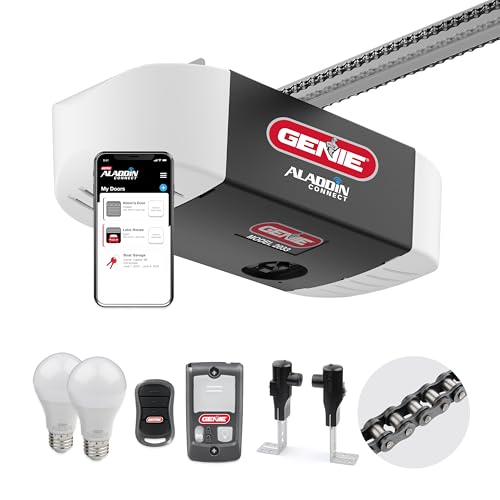
This smart Chain Glide Connect garage door opener integrates with the most popular smart home automation systems, so your garage can be part of your favorite smart home. Works with Alexa, Google Assistant, SmartThings, Amazon Key In-Garage Delivery and many more
What You’ll Need: Smart Relay, Tools, and Power Supply

Once you’ve confirmed your garage door opener will play nice with a smart relay, it’s time to actually get your hands on the stuff that makes it work. You’ll need three main things: a smart relay module, some basic hand tools, and a power supply.
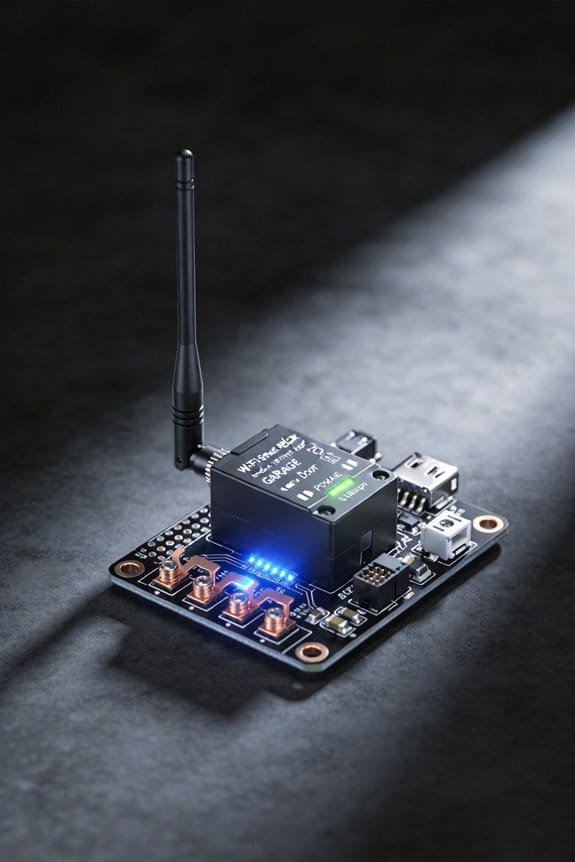
For the relay itself, you’ve got options. The Shelly 1 Relay runs about $20 and honestly doesn’t require much fussing around with settings. If you’re already deep into Home Assistant, ESP8266-based modules give you tighter integration, but they do ask a bit more of you during setup.
On the tools side, keep it simple. Grab a soldering iron, wire strippers, and a multimeter—that last one matters because you’ll want to verify your voltage before you hook anything up. Nothing fancy needed here; these are tools you probably already own or can borrow.
Power supply is where people sometimes miss the mark. You’ll need a 12V 200mA unit, and it’s got to be in range of your WiFi gateway. Frankly, this is one of those details that feels minor until you realize your setup keeps dropping connection. Position it thoughtfully.
The best part? You’re not tearing into your opener’s guts to make this work. These components connect externally, which means you keep your opener’s existing setup intact while still getting remote control and smart home features. So why worry about voiding warranties or accidentally breaking something that was working fine? You won’t have to.
Does this setup feel doable to you?
Recommended Products

Safety light curtain safety protection sensor safety grating punching machine protector Photoelectric protector for punch press Beam pitch: 20mm beams: 28mm height:600mm (Customizable)

CGOLDENWALL Safety Light Curtain # Beam pitch: 40mm # beams: 24 # Protection height: 920mm Total height:: 1000 mm, model 100-24-4

Ultra-thin Safety Light Curtains safety protection sensor light
Smart Relay Installation: Soldering, Placement, and Power
So you’ve prepped your parts and you’re ready to actually install this thing—that’s when the real work starts. The soldering step is where a lot of people either feel like pros or start wondering if they’re in over their heads.
Getting the Solder Right
The key to a solid solder joint is heating both the wire and the pad at the same time. Don’t just melt solder onto a cold pad and hope it sticks. Apply heat to the joint itself, then add solder only once you feel adequate heat flowing through. Clean, reliable connections don’t happen by accident—they happen because you took the time to do it right.
Placement Matters More Than You’d Think
Where you mount this relay actually affects how well it works. Your WiFi signal needs to reach it, so keep the device within 30-50 feet of your router. Frankly, even a few extra feet can make a difference in a garage full of metal doors and tools. Pick a spot that’s stable and dry—a shelf beats sitting on the concrete floor where moisture can creep in.
Power Supply Setup
Mount your 12V 200mA power supply close to the relay, but keep it away from moisture and direct sunlight. Honestly, a corner of your garage wall or a sheltered spot inside the opener’s housing works fine.
Before you seal everything up, verify the voltage output. Measure the NO-COM resistance—you’re looking for approximately 5V to confirm everything’s working. Only then should you secure everything in place. Do you feel confident about the connection, or does something seem off?
Recommended Products

【𝗔𝗹𝗹-𝗶𝗻-𝟭 𝟭𝟲-𝗖𝗮𝗺 𝗣𝗹𝘂𝗴-𝗡-𝗣𝗹𝗮𝘆 𝗞𝗶𝘁】 This bundle includes a 4-cam prepackaged set with 1TB HDD NVR plus 12 add-on dual-lens cameras—pairing the 12 extra cams to the NVR is easy as a breeze, forming a complete 16-camera surveillance system. It works instantly out of the box: simply plug the NVR into a screen, power on all cameras, and start 24/7 property monitoring right away, with all necessary accessories included.
![XMARTO [12 Dual-Lens Camera Bundle] 24-View Long Range WiFi6 Mesh Security System, 16CH 4K Dual Band NVR, 4MP 180°+Static FOV & 360°PTZ AI Tracking, 24/7 Plug-in Surveillance, 1TB HDD, No Monthly Fee](https://m.media-amazon.com/images/I/51G+RNDus4L._SL500_.jpg)
【𝗔𝗹𝗹-𝗶𝗻-𝟭 𝟭𝟮-𝗖𝗮𝗺 𝗣𝗹𝘂𝗴-𝗡-𝗣𝗹𝗮𝘆 𝗞𝗶𝘁】 This bundle includes a 4-cam prepackaged set with 1TB HDD NVR plus 8 add-on dual-lens cameras—pairing the 8 extra cams to the NVR is easy as a breeze, forming a 12-camera surveillance system. It works instantly out of the box: simply plug the NVR into a screen, power on all cameras, and start 24/7 property monitoring right away, with all necessary accessories included.

【𝗔𝗹𝗹-𝗶𝗻-𝟭 𝟭𝟮-𝗖𝗮𝗺 𝗣𝗹𝘂𝗴-𝗡-𝗣𝗹𝗮𝘆 𝗞𝗶𝘁】 This bundle includes a 4-cam prepackaged set with 500GB HDD NVR plus 8 add-on dual-lens cameras—pairing the 8 extra cams to the NVR is easy as a breeze, forming a 12-camera surveillance system. It works instantly out of the box: simply plug the NVR into a screen, power on all cameras, and start 24/7 property monitoring right away, with all necessary accessories included.
Retrofit Costs: Smart Relay vs. Full Opener Replacement
Retrofit Costs: Smart Relay vs. Full Opener Replacement
Stuck with an old garage door opener that’s still working, but you’re tired of not having remote access? You’re probably wondering if it’s worth pulling the whole thing out and starting fresh, or if there’s a smarter way to modernize without breaking the bank.
The answer might surprise you: a smart relay could be your best move financially. I’ve looked at the numbers, and they’re pretty clear. A Shelly 1 Relay runs about $19.95, and when you add in a 12V 200mA power supply, you’re looking at roughly $40–50 installed. Compare that to a brand-new opener—you’re spending $300–800 once you factor in professional installation. That’s a huge gap.
Here’s the trick: retrofitting keeps your existing hardware in place. You’re not tossing out a perfectly good motor just because it doesn’t have WiFi. Your warranty stays intact. You skip the labor costs of ripping everything out and starting over. And honestly? For older openers from the late ’70s and early ’90s, that’s money in your pocket right there.
So, why does this matter to you specifically? Because retrofitting isn’t some janky workaround—it’s a legitimate upgrade path. These relay systems work with chain or screw drive motors without any internal modifications needed. You get remote control, app integration, and voice activation. No compatibility headaches.
The best part is that you’re not sacrificing anything by choosing the retrofit route. You’re just being smart about it.
Is your opener still running reliably, even if it’s old? If so, a smart relay might be the move that actually makes sense for your situation.
Recommended Products

NSF CERTIFIED COMPONENTS – Potable-water safe kit with pulse-output water meter and motorized shutoff valve in your selected size (0.5", 0.75", 1", 1.5", or 2").

Tri-Lens Camera, No Blind Spots - Eliminate blind spots with our triple-lens design. Dual fixed lenses create a seamless 180° panorama for full-area coverage, while the PTZ lens automatically tracks movement with pan, tilt, and zoom. Monitor wide areas and follow action simultaneously with one cost‑effective device—perfect for driveways, yards, farm, and business entrances

【 Dual Lens Camera with 360° Wide View & Auto Traking】This security camera system wireless features with PTZ dome lens and fixed bullet lens, delivering wide-area surveillance without blind spots. The PTZ lens supports motion tracking while the fixed lens focus on important area. Ideal for front yard, driveway, garage, shops, and office.
Soldering Errors, Relay Placement Blunders, and Power Supply Mistakes
Soldering Errors, Relay Placement Blunders, and Power Supply Mistakes
Ever installed a smart relay on your garage door opener and immediately regretted it? Yeah, me too. The thing is, when you’re wiring directly into your remote switch circuit, there’s basically zero room for error. One bad solder joint, one relay sitting in the wrong spot, or one undersized power supply, and you’re looking at a system that either doesn’t work or works sporadically—which is honestly worse than not working at all.
The Soldering Problem Nobody Talks About
Cold solder joints are the silent killer of relay installations. What happens is you don’t apply enough heat, the solder doesn’t melt properly, and you end up with a connection that looks fine but has way too much resistance. The result? Your relay fires intermittently or not at all. You’ll troubleshoot for hours thinking it’s a WiFi issue when really it’s just a bad joint.
Here’s the trick: take your time with soldering. Use a proper iron (at least 40 watts), heat both the wire and the terminal for a full 3-4 seconds, then apply solder. The solder should flow smoothly and create a shiny, smooth cone. If it looks dull or blobby, you didn’t use enough heat.
Before you even install anything, grab a multimeter and measure the NO-COM resistance on the relay. It should read nearly zero. If it doesn’t, that joint needs redoing.
WiFi Signal and Relay Location
So, why does placement matter so much? Because your relay needs a solid WiFi connection to receive commands, and metal (like steel garage door frames) absolutely kills your signal.
Keep your relay module within three meters of your router. Honestly, closer is better. I’ve seen people stick their units in metal electrical boxes or tuck them in a corner behind the garage, then wonder why they lose connection every other week. Avoid metal enclosures and stay in the open if you can.
Power Supply: Don’t Cheap Out
Your power supply needs to deliver at least 12V and 200mA. Undersized units will struggle to energize the relay coil properly, and you’ll get weak or delayed switching. This isn’t the place to save five bucks on a sketchy Amazon power brick.
Verify the actual voltage output with a multimeter before you connect anything. Mount the supply away from moisture and metal interference—a dry shelf works great.
The good news? These mistakes are all preventable. Measure twice, solder once, keep your relay in a good spot, and use a decent power supply. That’s it.
Week One: Device Selection, Installation, and First-Command Test
Want to actually control your garage door from your phone? Then you need to pick the right relay module first—and honestly, it’s easier than you think.
You’ve got three solid options to consider. The Shelly 1 Relay runs $19.95, works at 240V, and gives you both cloud and local control without extra hassle. If you’re comfortable with soldering and want to go the DIY route, grab an ESP8266 development board paired with a relay breakout module for $12–18 total, though you’ll need Home Assistant running in the background. Finally, there’s the Matter-enabled relay unit ($25–40) if you want something that’ll work with HomeKit, Google Home, and whatever comes next.
Installation is where precision matters. Solder wires to your garage door remote’s switch terminals, hook the leads to the relay’s NO contacts, and supply 12V at 200mA. Make sure the device sits within WiFi range of your router. Use a multimeter to verify the voltage output across your NO-COM terminals—this step prevents headaches later. Mount it somewhere secure and out of the way.
So why does the first command test feel nerve-wracking? Because you’re about to trigger something physical. Here’s the trick: pulse the relay for just 0.25 seconds, which mimics what an actual button press does. Don’t worry—relay fail-safe design means you’re safe during this validation phase.
You’re ready. Test it out and see what happens.
Frequently Asked Questions
Can I Retrofit My Garage Door Without Soldering or Technical Skills?
Yes, you can! I’ve seen homeowners install battery-powered smart relays like the Shelly 1—no soldering required. For DIY garage upgrades without technical skills, these simple retrofitting solutions just clip onto your existing remote, then connect via WiFi for app control.
What Smart Home Platforms Integrate With Retrofitted Wi-Fi Relay Systems?
I’ll tell you that retrofitted Wi-Fi relay systems integrate seamlessly with major platforms—Alexa, Google Home, and Apple HomeKit. You’ll gain smart home compatibility and retrofit benefits like remote control and voice activation without replacing your existing garage door opener.
How Long Do Tilt Sensor Batteries Last in Garage Environments?
I’ll tell you that tilt sensor batteries typically last 10+ years in garage environments. You’ll find that minimal sensor maintenance keeps them performing reliably—just occasional checks guarantee your battery lifespan remains strong without frequent replacements.
Will Retrofitting Void My Garage Door Opener’s Manufacturer Warranty?
I’d say retrofitting shouldn’t void your warranty if you’re careful. The knowledge base confirms that external relay systems preserve existing hardware and manufacturer warranties since you’re not modifying internal components. Always check your specific manufacturer guidelines for warranty implications.
Can One Relay System Control Multiple Garage Doors Independently?
You could literally control a thousand doors with the right setup. Yes, I can install separate relay systems for each garage door, enabling independent operation. Each relay module handles one door’s multiple door control needs, so you’re managing them individually through your smart home app.